
Use this at your own risk, and test it before relying on it, especially anything that controls a real device. Full disclaimer
Updated 8 November 2026
Frigate spots people, cars and animals on your cameras. Home Assistant can turn that into phone alerts, lights that come on, and camera views on your dashboard. The thing that joins them is MQTT: a small message service that Frigate uses to tell Home Assistant what it has seen.
This guide connects Frigate to Home Assistant with MQTT in five short steps. It takes about 15 minutes. I tested every step in a sandbox, with a fresh Mosquitto, Frigate 0.18 and Home Assistant, and the Frigate integration v5.15.6.
On this page (11 sections)
- 1See how it works
- 2What you need to connect Frigate to Home Assistant
- 3Step 1: Set up the MQTT broker (Mosquitto)
- 4Step 2: Point Frigate at the broker
- 5Step 3: Add MQTT to Home Assistant
- 6Step 4: Install the Frigate integration
- 7Step 5: Connect Home Assistant to Frigate
- 8Check it works
- 9If something’s wrong
- 10Updating
- 11Frequently asked questions
See how it works
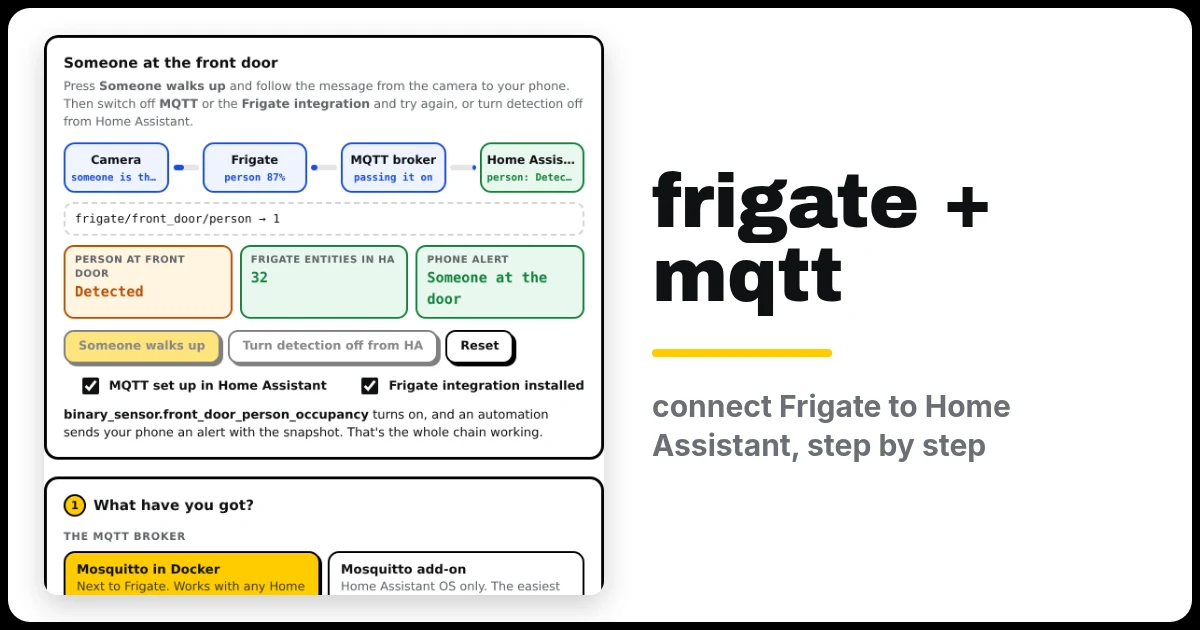
Press Someone walks up and follow the message from the camera to your phone. Then untick MQTT or the Frigate integration and try again, or turn detection off from Home Assistant. Under the demo is the generator you’ll use in Step 1.
Open the generator full screen
What you need to connect Frigate to Home Assistant
- Home Assistant, any kind. If you haven’t got it yet, follow my Home Assistant with Docker Compose guide.
- Frigate already running with at least one camera. You can open its web page and see the camera.
- Marketplace in Home Assistant, to install the Frigate integration. It’s built in from 2026.11 at Settings → Marketplace. On older versions it’s called HACS, which needs setting up first.
Step 1: Set up the MQTT broker (Mosquitto)
The broker is the post office in the middle. Frigate posts messages to it, and Home Assistant collects them. In the generator, pick Mosquitto in Docker and fill in your server’s IP address. Then, on the server where Frigate runs:
- Make a folder and go into it:
mkdir -p ~/mosquitto && cd ~/mosquitto - Save compose.yaml from the generator there, and mosquitto.conf into the settings folder the Commands tab makes.
- Run the Commands. They make two logins, one for Frigate and one for Home Assistant (you type each password twice), then start Mosquitto.
The generator’s settings turn anonymous logins off, so only Frigate and Home Assistant can connect. I checked this in the sandbox: the right username and password connects, and a connection with no login or the wrong password gets not authorised.
Step 2: Point Frigate at the broker
- Open the generator’s Frigate config tab and copy the
mqtt:block. - Paste it at the top of Frigate’s
config.yml(or in Frigate’s web page: Settings → Configuration editor). Put Frigate’s password in place ofthe-password-you-set-for-frigate. - Restart Frigate.
To check it worked, look at Mosquitto’s log. Within a minute you should see Frigate log in:
docker compose logs mosquitto | grep frigate
# New client connected from 172.18.0.3 as frigate (... u'frigate').
Step 3: Add MQTT to Home Assistant
- In Home Assistant, go to Settings → Devices & services → Add integration and search for MQTT.
- Broker: your server’s IP. Port:
1883. Username and Password: the Home Assistant login from Step 1. Leave the rest as it is. - Click Submit. MQTT now appears in your integrations.
Step 4: Install the Frigate integration
- Open Settings → Marketplace (HACS before 2026.11), search for Frigate and open it (it’s by Blake Blackshear).
- Click Install, then Install again (Download in HACS).
- Restart Home Assistant: Settings → System, the power icon at the top right → Restart Home Assistant.
Step 5: Connect Home Assistant to Frigate
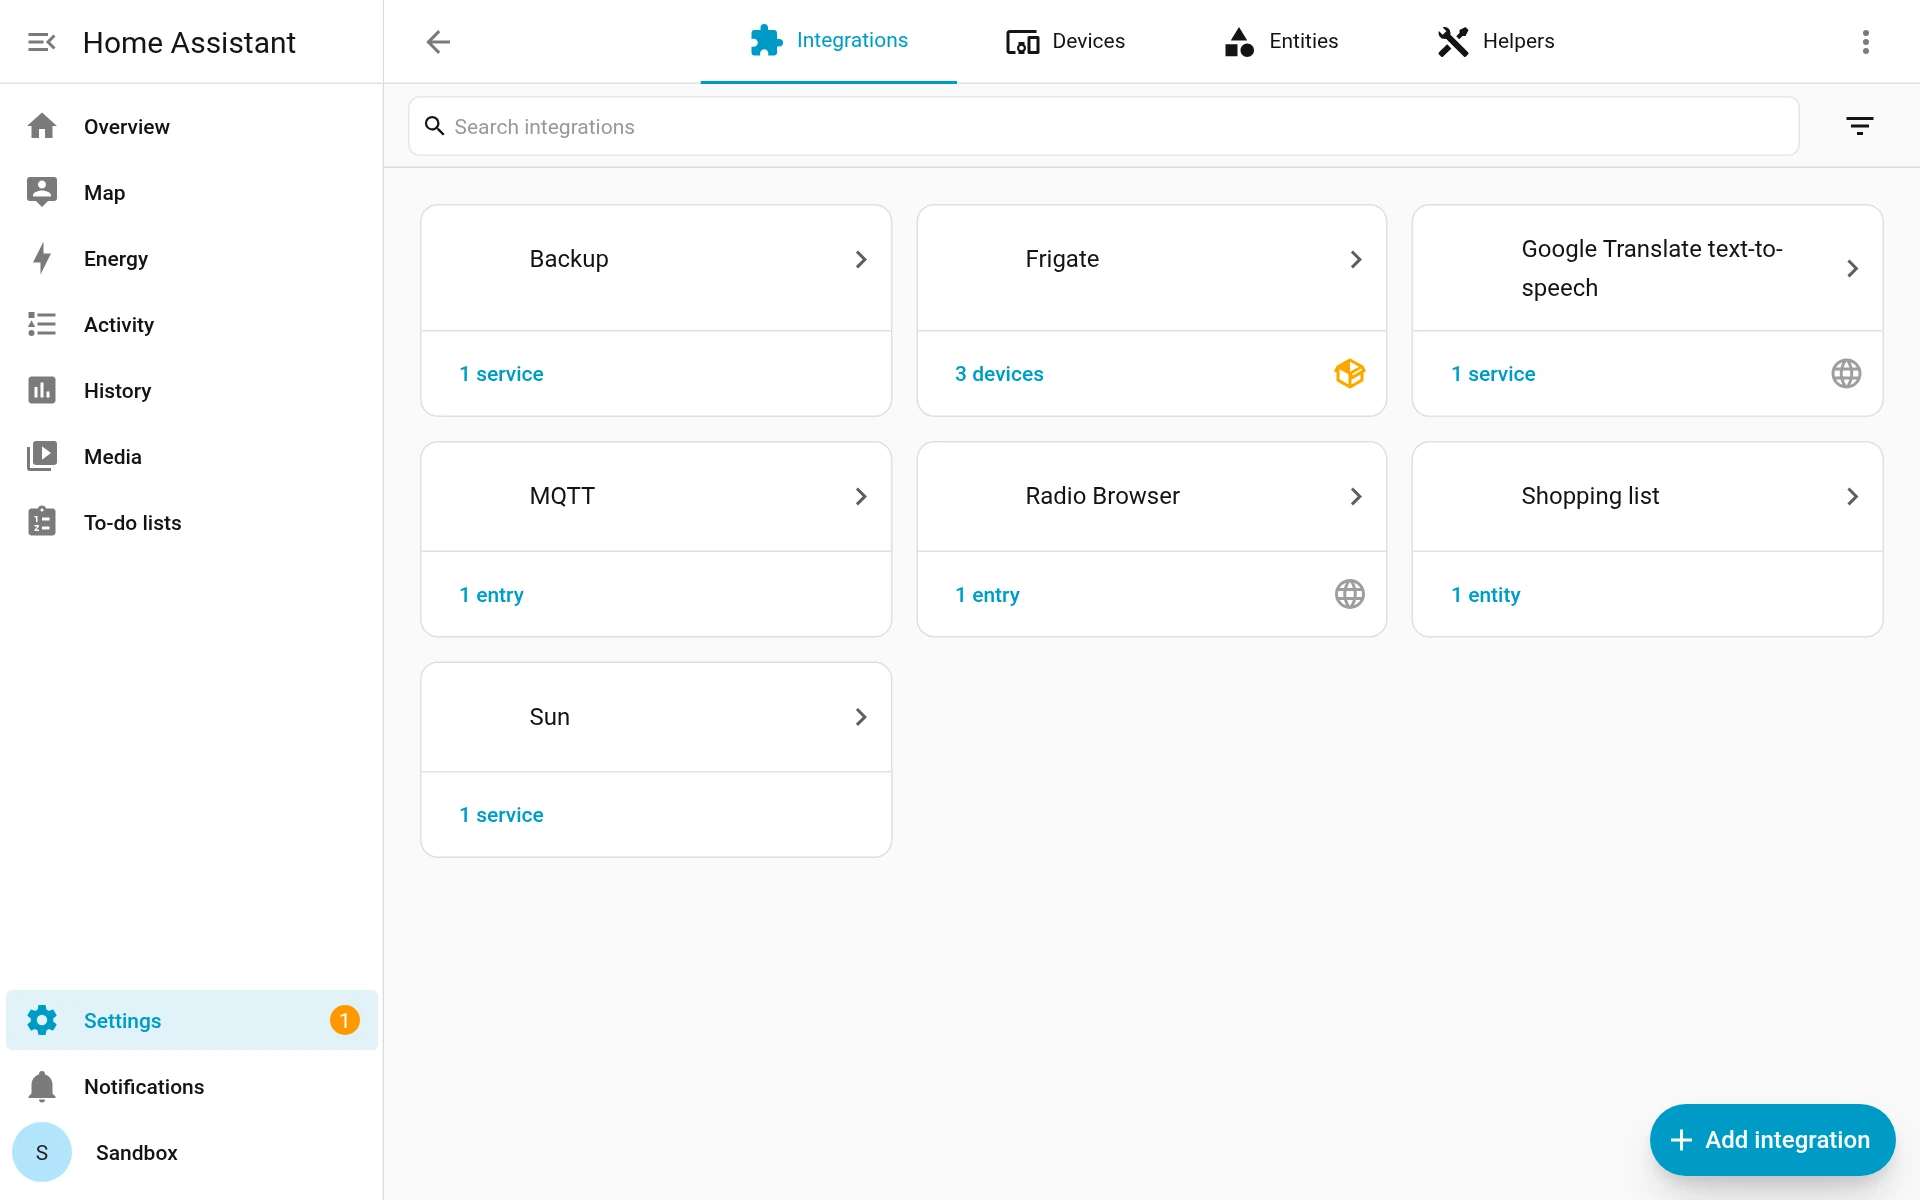
- Go to Settings → Devices & services → Add integration and search for Frigate.
- URL:
http://YOUR-SERVER-IP:5000. Use port 5000 (Frigate’s API), not 8971 (its login page). If Frigate is the Home Assistant OS add-on, the dialog tells you the address to use instead. - Click Submit.
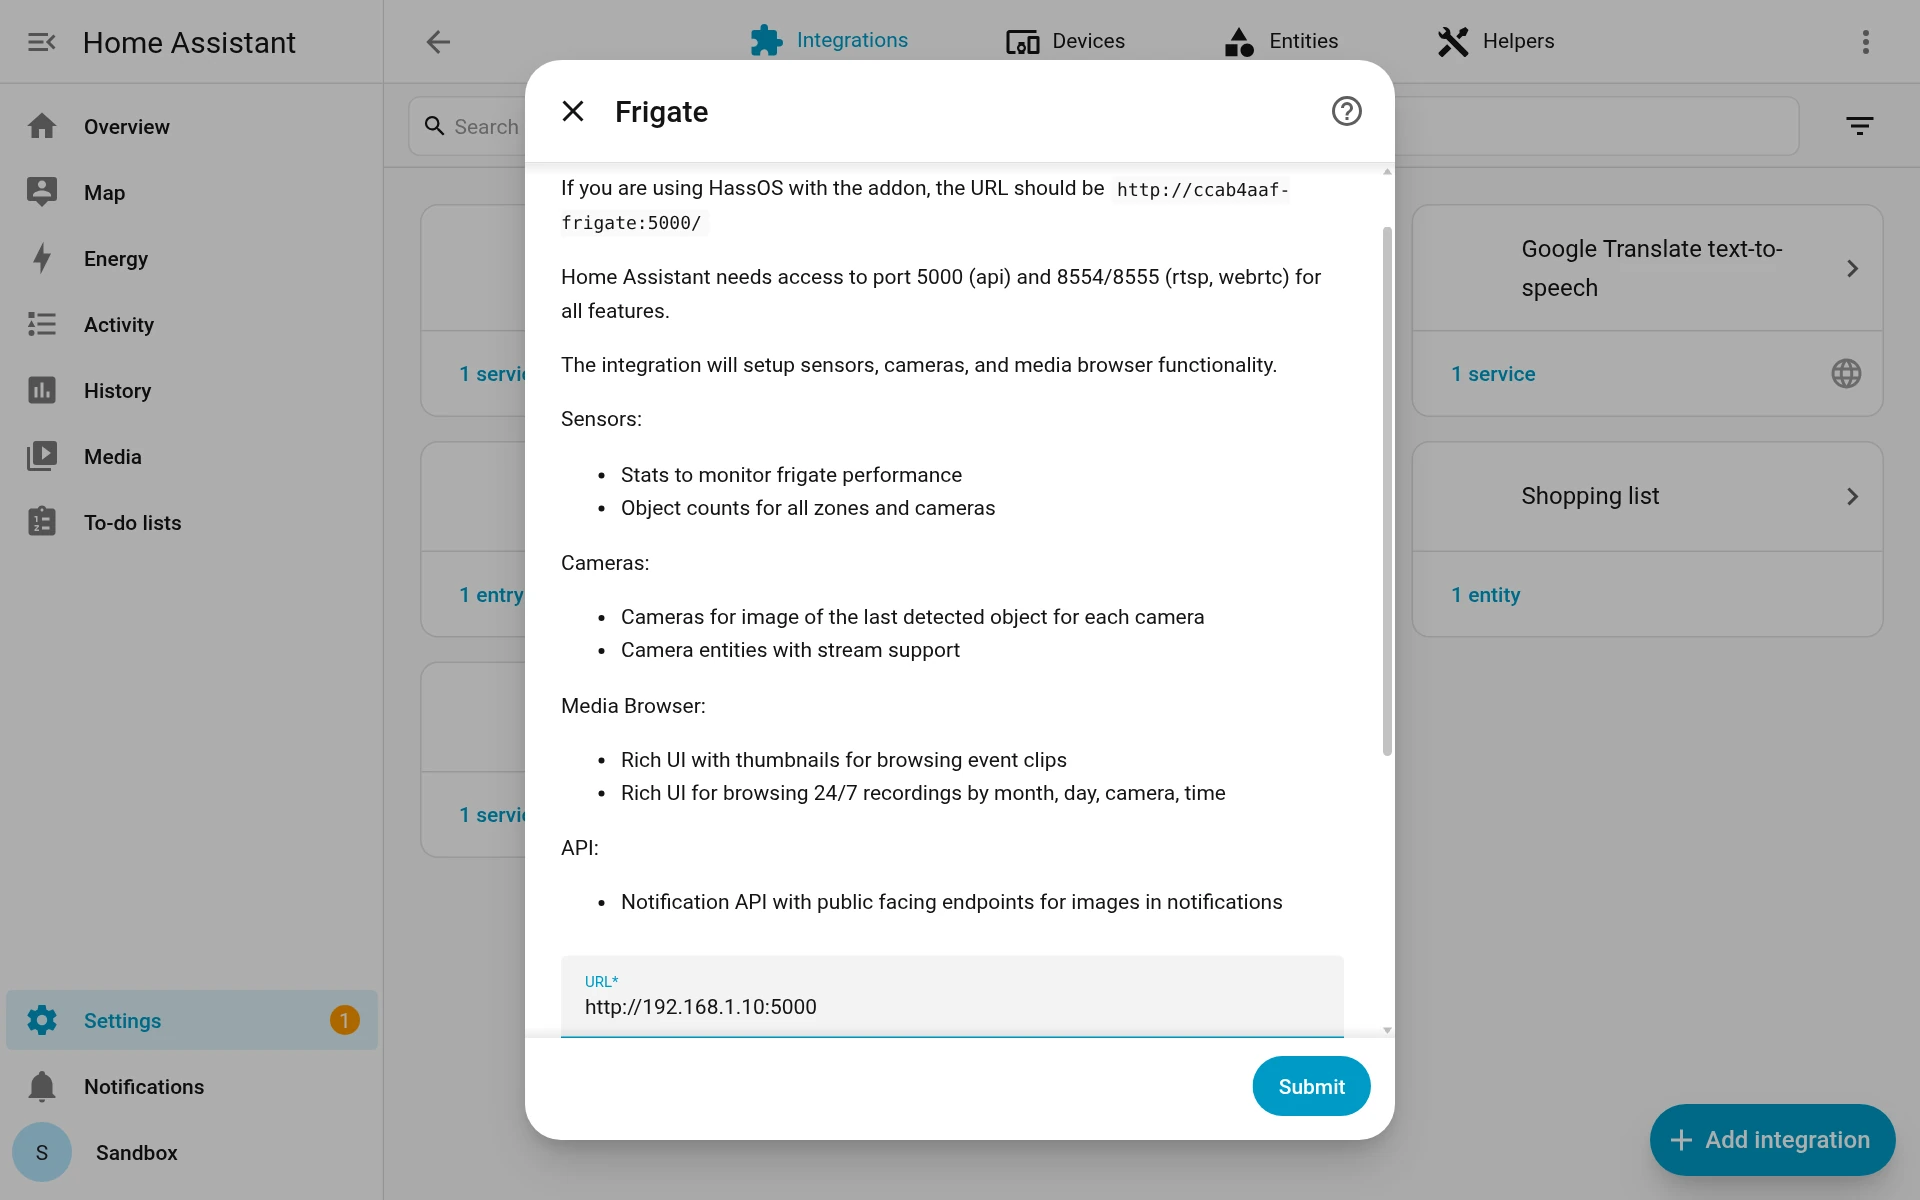
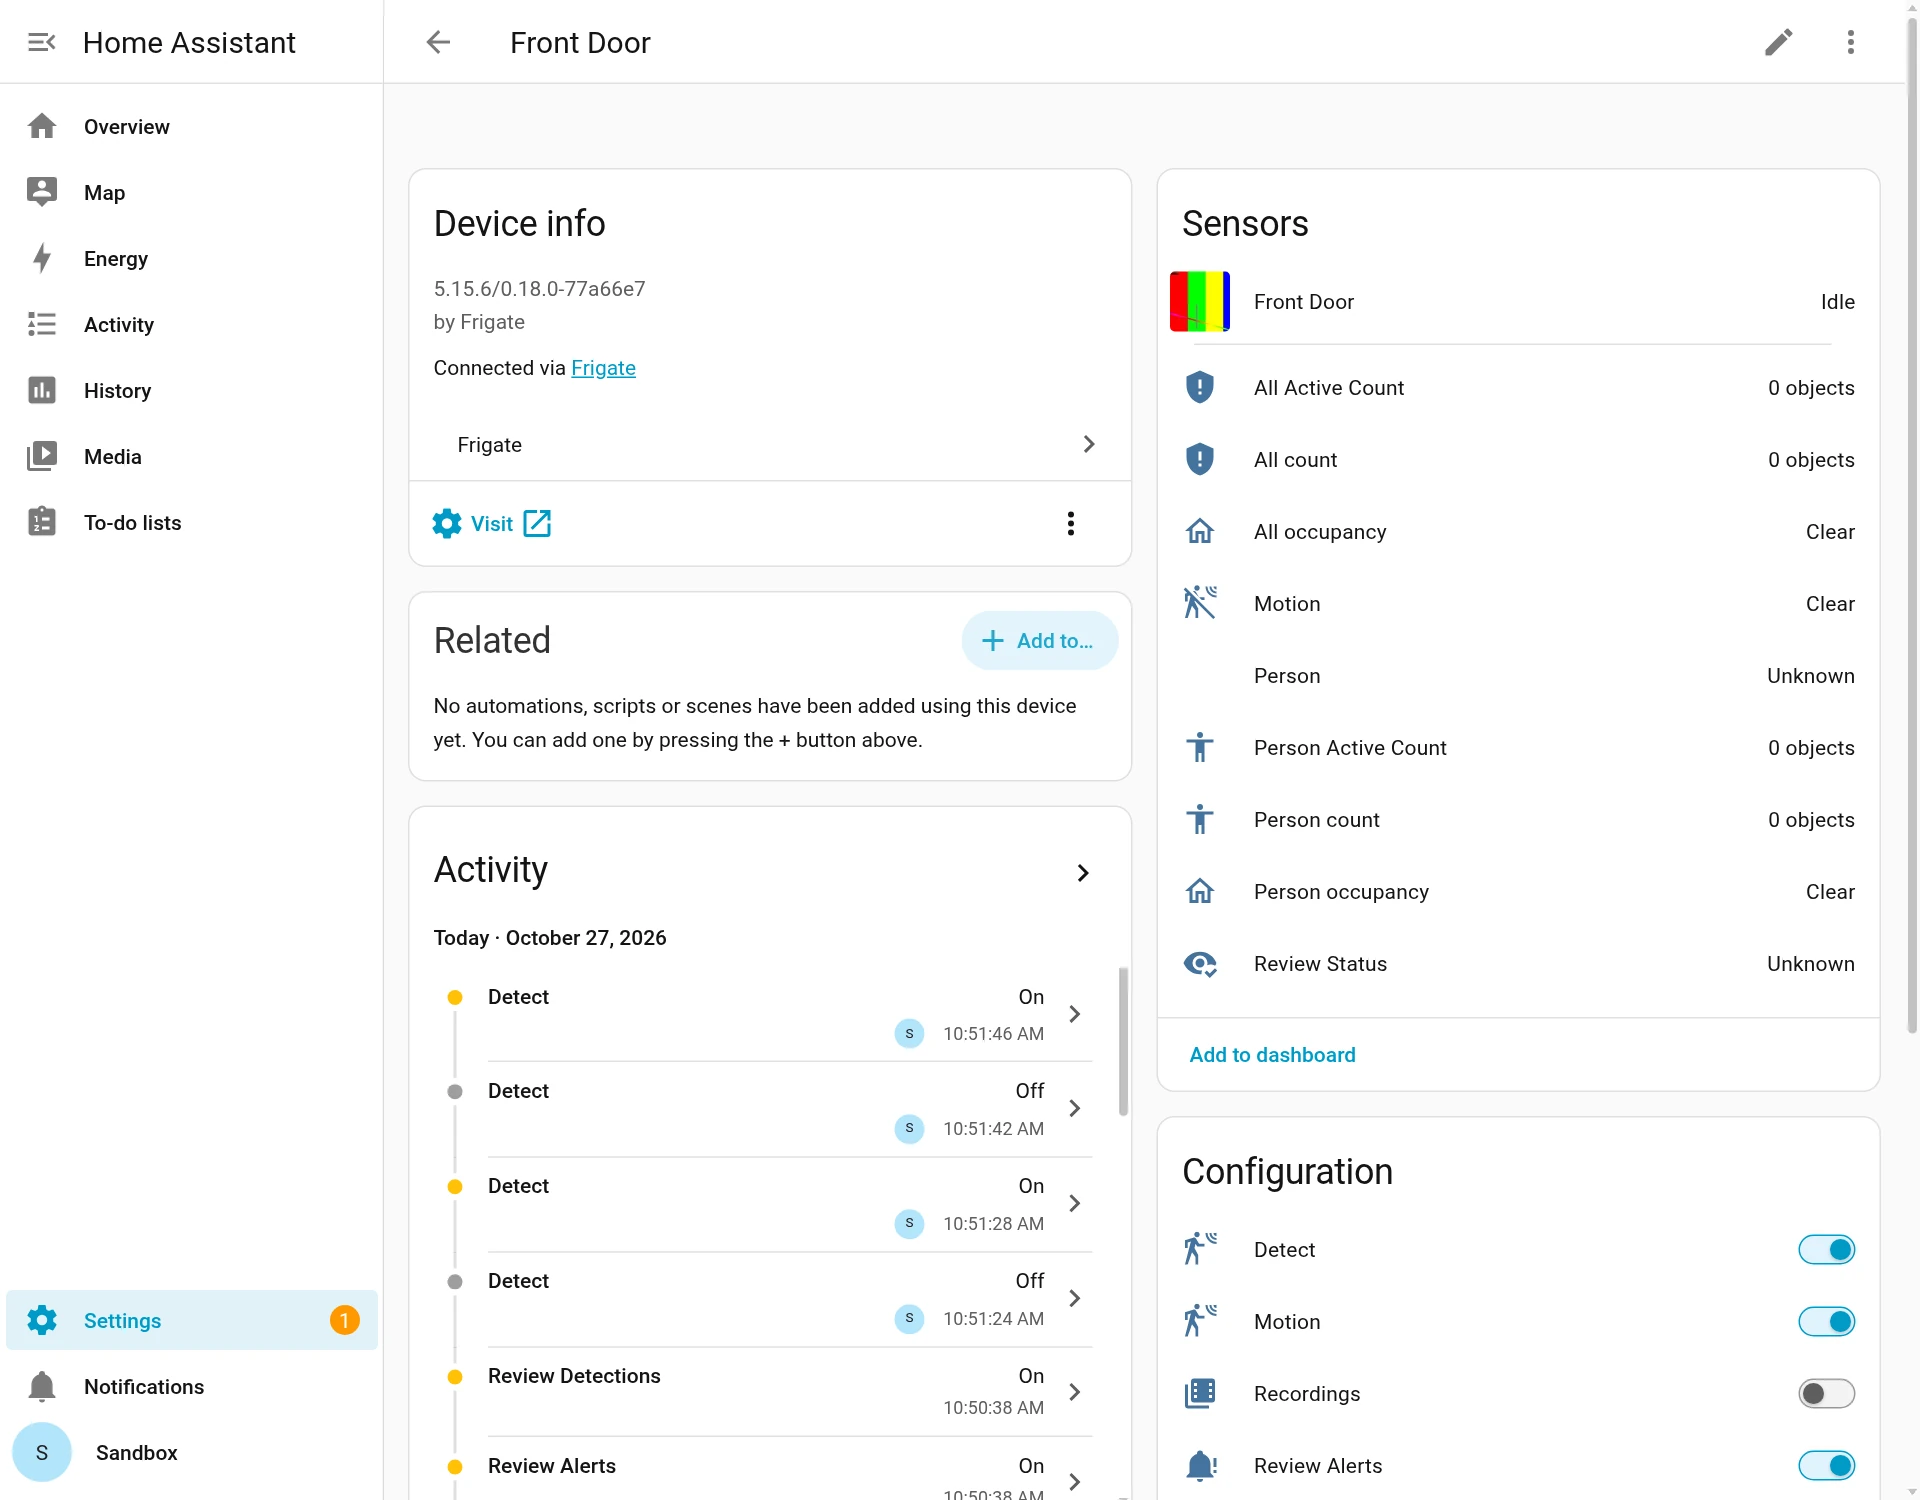
Each camera now appears as a device, with a camera, motion and person sensors, object counts, and switches for detection, recordings and snapshots.
Check it works
- From Home Assistant to Frigate: on a camera’s device page, switch Detect off. Frigate’s log says
Turning off detection for front_door. Switch it back on. - From Frigate to Home Assistant: walk in front of a camera. Its Person occupancy sensor changes to Detected, then clears when you leave.
- See the messages themselves: Settings → Devices & services → MQTT → Configure, then under Listen to a topic type
frigate/#and click Start listening.
Next: put all your cameras on one page with the free Frigate Timeline Card, and drag back in time across every camera at once.
If something’s wrong
- Frigate is connected, but Home Assistant has no Frigate sensors or switches. MQTT isn’t set up in Home Assistant (Step 3). Add it, then go to Frigate → ⋮ → Reload.
- Mosquitto’s log says “not authorised”. A username or password is wrong. Check the
userandpasswordin Frigate’smqtt:block, and the login in Home Assistant’s MQTT settings. - “Failed to connect” when adding Frigate. Home Assistant can’t reach port 5000. Open
http://YOUR-SERVER-IP:5000/api/versionfrom the Home Assistant machine. It should show Frigate’s version. - Camera pictures load, but live video doesn’t. Home Assistant also needs Frigate’s ports 8554 and 8555 for live video.
- Two Frigates on one broker. Give the second one its own
topic_prefixin itsmqtt:block, so their messages don’t mix.
trusted_proxies setting in configuration.yaml can be silently ignored: turn on Trust X-Forwarded-For and add your proxy under Trusted proxies in Settings → System → Network instead.Updating
- Mosquitto:
cd ~/mosquitto && docker compose pull && docker compose up -d - The Frigate integration: Marketplace shows an update when there’s a new one. Update it, then restart Home Assistant.
Frequently asked questions
Why do I need MQTT for Frigate and Home Assistant?
MQTT is the message service Frigate uses to tell Home Assistant what it has seen. Without it, the Frigate integration has no sensors or switches.
Why does Mosquitto say "not authorised"?
A username or password is wrong. Check the user in Frigate's mqtt: block and the login in Home Assistant's MQTT settings.
Why do camera pictures load but live video doesn't?
Home Assistant also needs Frigate's ports 8554 and 8555 for live video, not just 5000.
Can I open Frigate's ports to watch from outside?
Don't. Port 5000 has no login and MQTT carries everything your cameras see. Use Home Assistant's own remote access instead.
Thank you
Frigate and its Home Assistant integration are made by Blake Blackshear and the Frigate team, and Mosquitto by the Eclipse Foundation. All free and open source.
Related guides: Home Assistant with Docker Compose · Frigate Timeline Card · Home Assistant wall tablet
If this guide helped you, consider buying me a coffee. It helps keep guides like this one coming.
Get new guides by email
About one email a month: new step-by-step guides and card releases. No spam, unsubscribe any time.
 spikey1965